
Brand:Tiny's LEDs
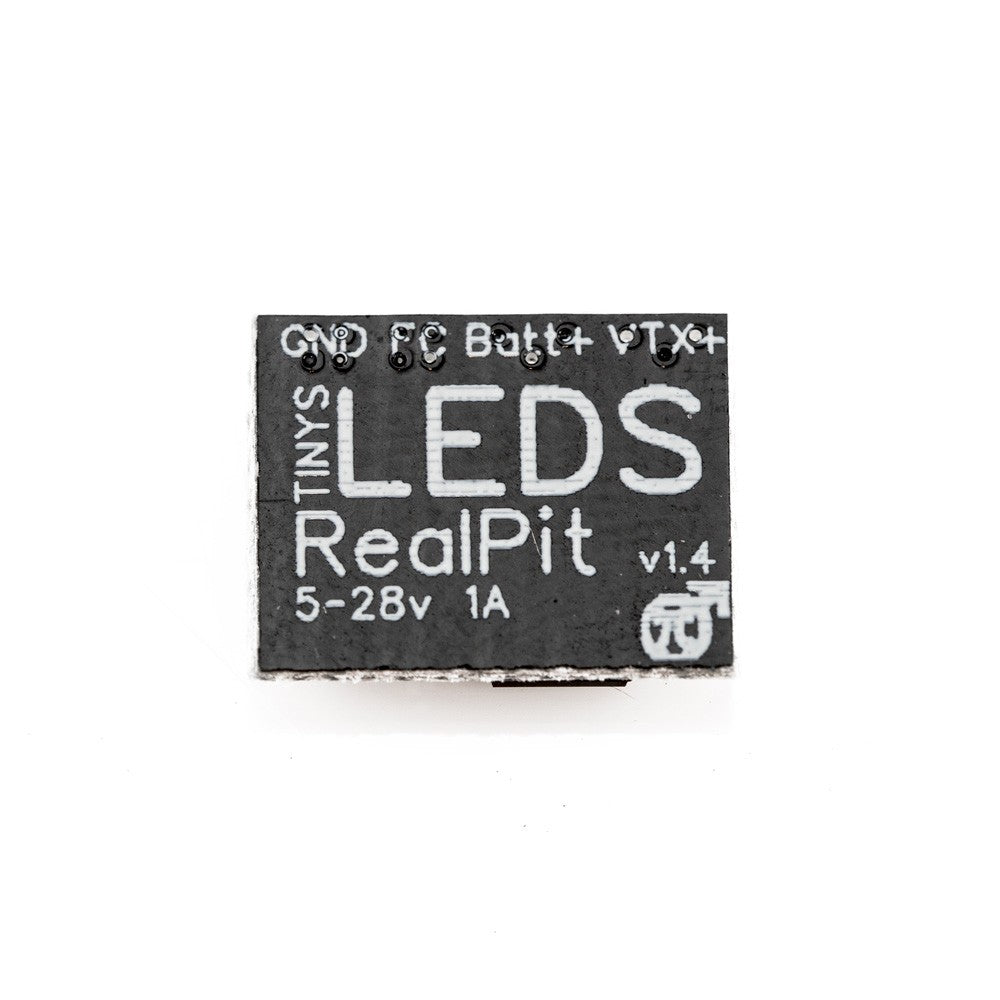
RealPit VTX Power Switch
RealPit VTX Power Switch
Couldn't load pickup availability
Shut your VTX off in the pits or after a crash, straight from your radio. RealPit is a tiny switch for racers who want fast pit stops, cooler VTXs and clean video for everyone else in the air.
- Operating voltage: 5-28V (HV-6s)
- Max current: 1A switch
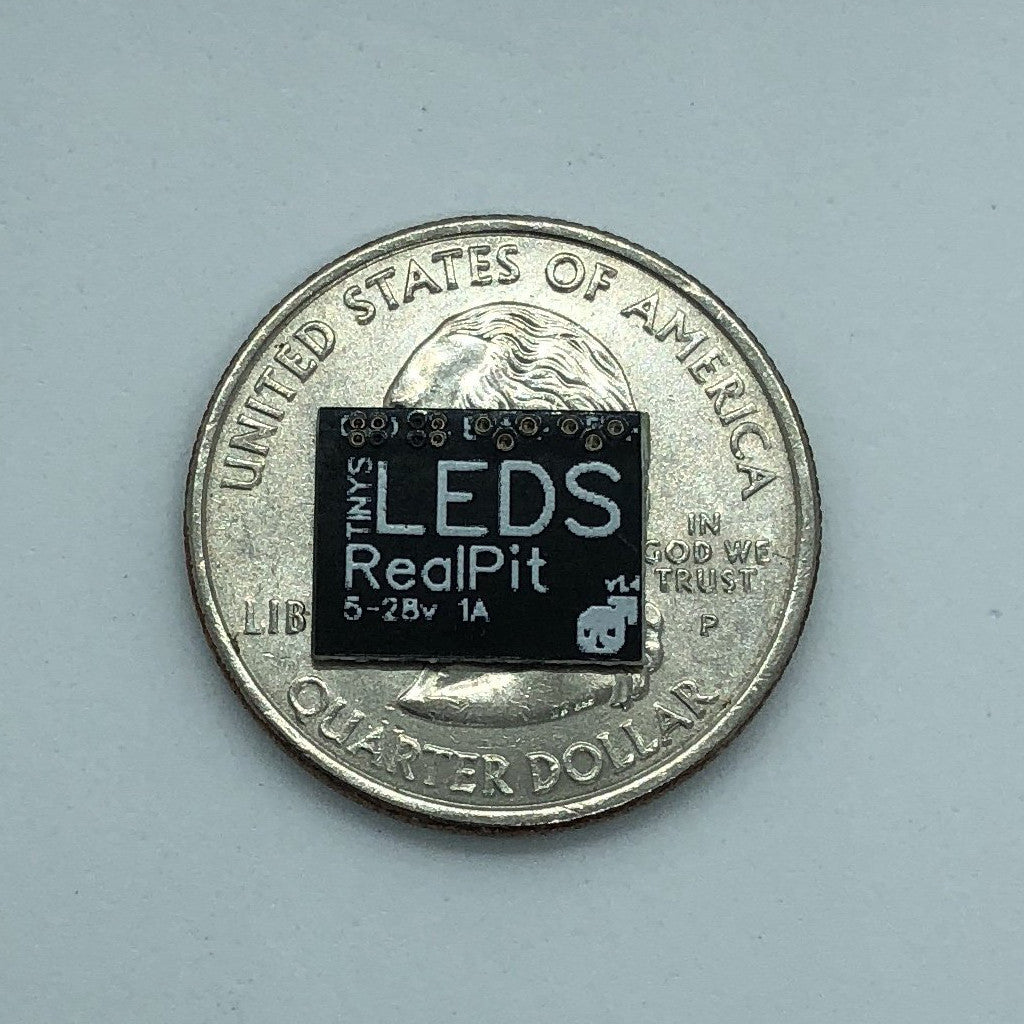
- Size: 10 x 12.5 x 2.5 mm
- Weight: 0.5 g with heatshrink
- Contents: 1x RealPit, 1x 1/2" heatshrink piece
Compatibility: Works with all major VTXs. Can be used on any FC pad and does not need a full UART (for example, SmartAudio/Tramp on TX and RX for RealPit PinIO). Supported software: Betaflight (PinIO, 3.3.x or greater), iNav (PinIO), Butterflight (PinIO), FlightOne 1.2.4+ (PINTOGGLE), and Flyduino KISS V2 FC (firmware 1.3RC39a beta, KISS GUI 2.0.15).
Features:
- Plug in your VTX at any time with 0 power start-up. (FlightOne may power up for a split second on boot, and some VTXs may transmit during that time.)
- Turn off your VTX on the line to avoid heat buildup.
- Fast team race pit stops, with sub-second transitions possible.
- Turn off your VTX during races to test hover builds without interfering with pilots in the air.
- Turn off your VTX after a crash so other racers keep clean video.
- Solo endurance races: keep 3 quads ready on the line and practice for more than 1 pack without taking off your goggles. (OpenTX / Spektrum setup instructions coming soon.)
- Onboard LED indicator: light on means power on.
- Up to 4 RealPits per quad, for VTX, LEDs or any other device you can imagine.
- Toggle LED power or any other device under 1 amp draw.
Also available built into WhitenoiseFPV's Unify mounting boards: WhitenoiseFPV TBS Unify Mounting Board w/ RealPit
Demo video (Team EMAX team race):

Setup
Betaflight (CLI):
- Type
resourceand find the resource ID of the UART TX/RX pad you wired to. This example uses RX4, which is A01.
- Free that pad from its current resource:
resource SERIAL_RX 4 NONE - Set up the custom mode switch:
set pinio_box = 40,41,42,43aux 2 40 2 1600 2100 0 - Assign the resource ID to the mode:
resource PINIO 1 A01 - For more RealPits, add these lines and replace the bracketed values with your resource IDs:
aux 3 41 3 1600 2100 0aux 4 42 4 1600 2100 0aux 5 43 5 1600 2100 0resource PINIO 2 [e.g. A04]resource PINIO 3 [e.g. A05]resource PINIO 4 [e.g. A06] - Type
saveand press Enter. Your FC will reboot. - In the Modes tab, assign an AUX channel to USER1, just like an arm or turtle mode switch, and click Save.

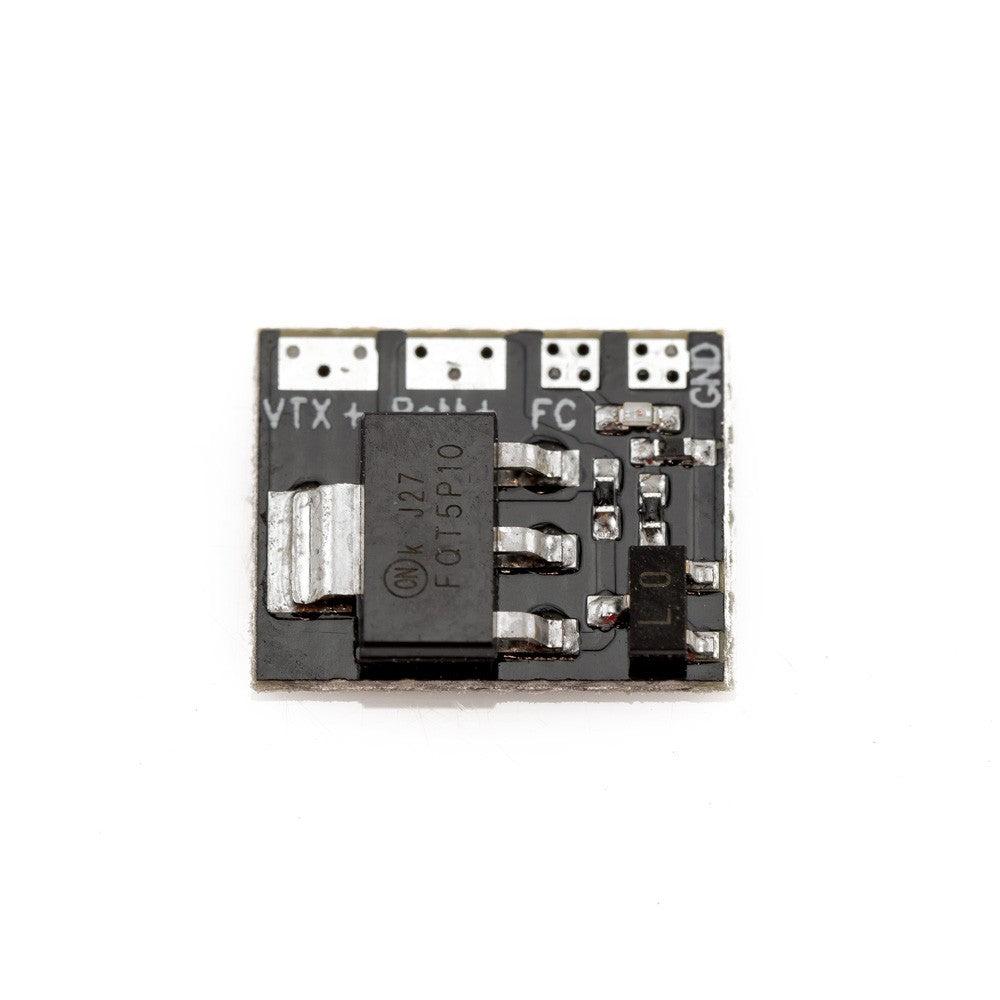
- Flip the switch to test. The red LED on the RealPit lights when it is providing power.
FlightOne:
- Use firmware 1.2.x or greater to enable PINTOGGLE. It is available on the FlightOne Discord and at FlightOne.us.
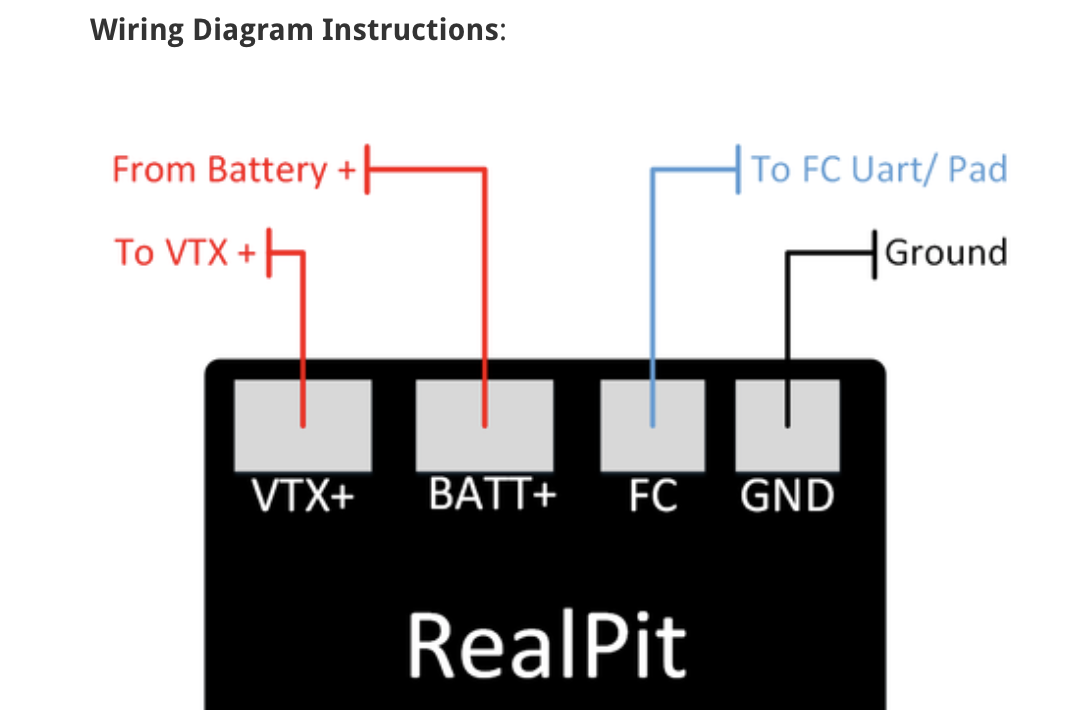
- Wire RealPit VTX+ to the VTX positive pad, and BATT+ to the battery source (5-28V).
- Wire the VTC pad to the TX4 pad on the FlightOne FC and solder TX4 to NOR. Wire GND to a GND pad on the FC.
- In the Setup tab, set up the PINTOGGLE switch.

- Use the switch to power the VTX on and off.
Note: FlightOne does not support zero power on. The VTX will blip for a split second on boot before turning back off.
KISS V2 (thanks to Zaine Stapleton for the write-up). Requires a Flyduino KISS V2 FC, firmware 1.3RC39a (beta) and KISS GUI 2.0.15.
- Run a wire from the RealPit's FC pad to PWM 5 on the FC.
- Flash the FC with the most recent firmware: KISS firmware download · KISS configurator download
- Select the AUX channel option labeled "Real Pit Mode" and set the AUX channel and switch position.
- Click Save and disconnect once the FC has saved.
- Go race or freestyle your KISS rig!
Wiring diagram:


