Brand:Tiny's LEDs
EMAX NanoHawk VTX/RX Sled
EMAX NanoHawk VTX/RX Sled
Couldn't load pickup availability
Share
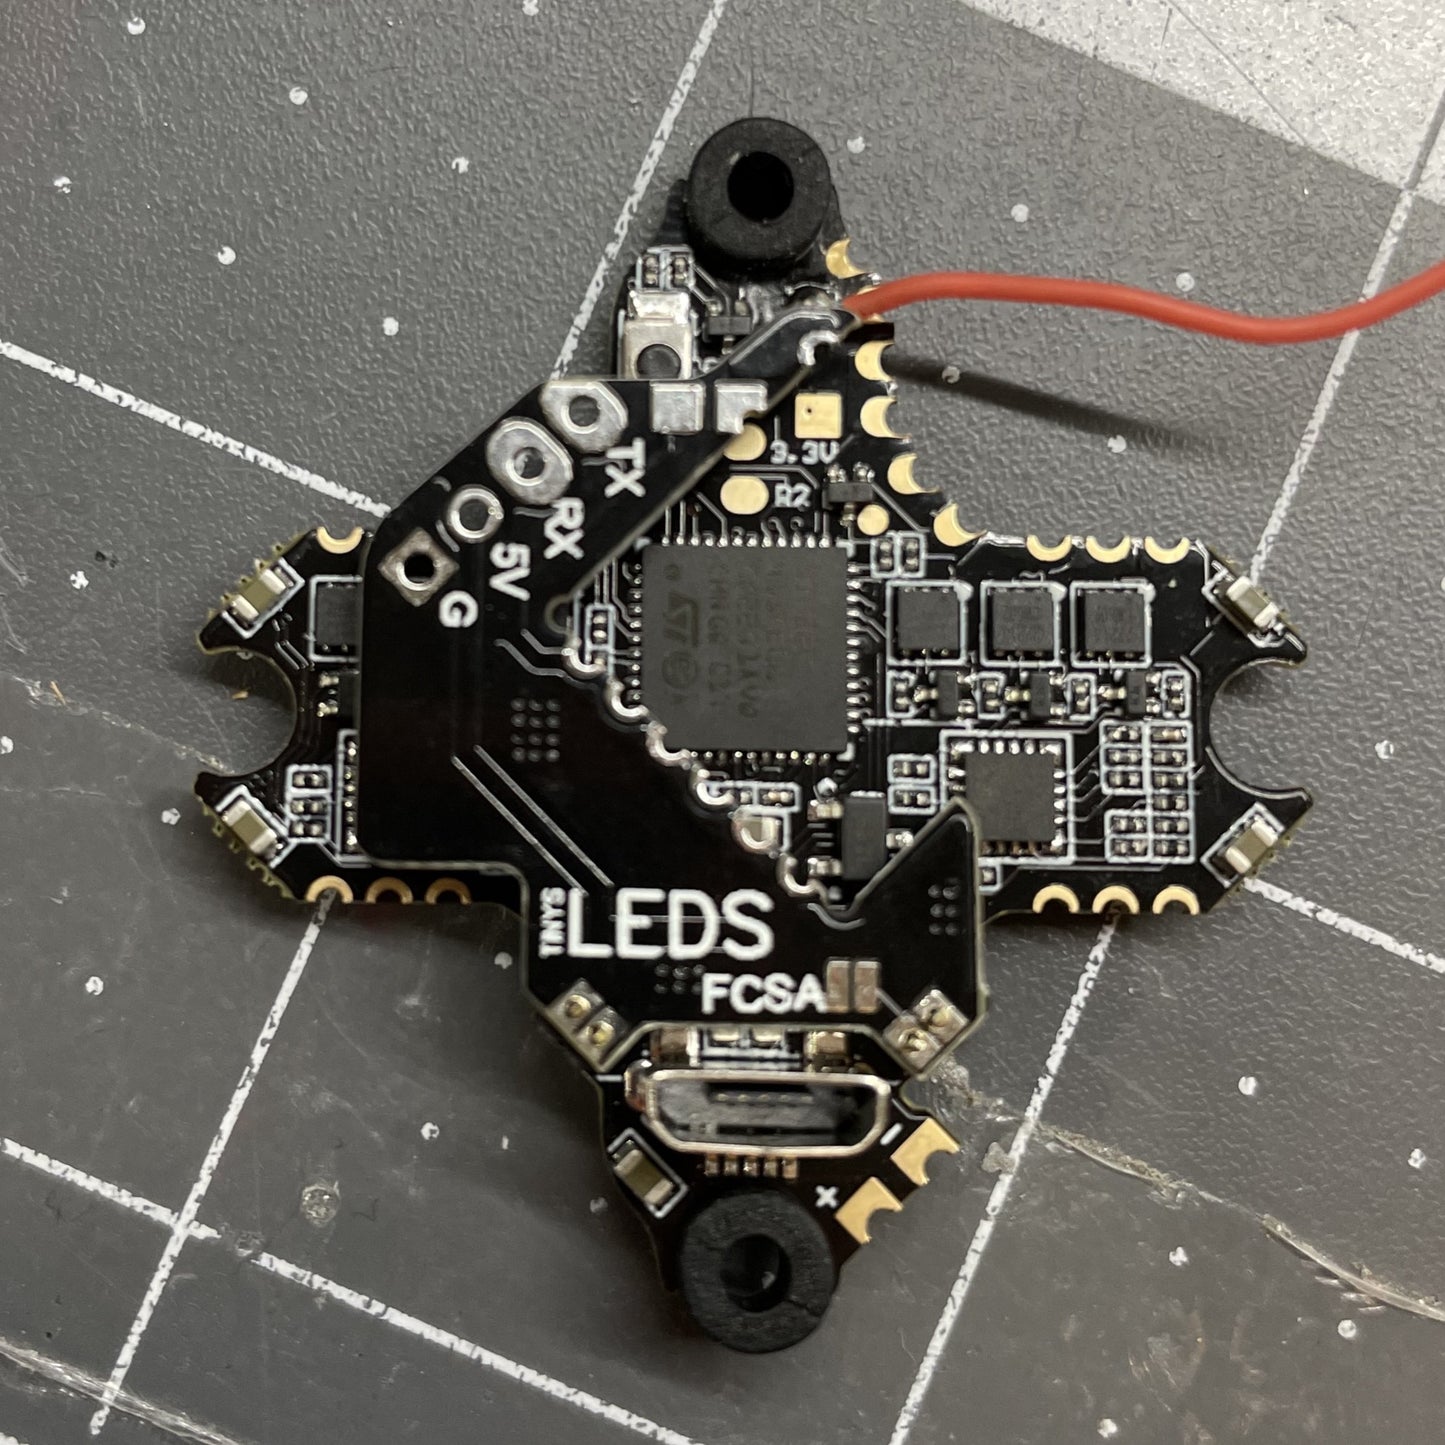
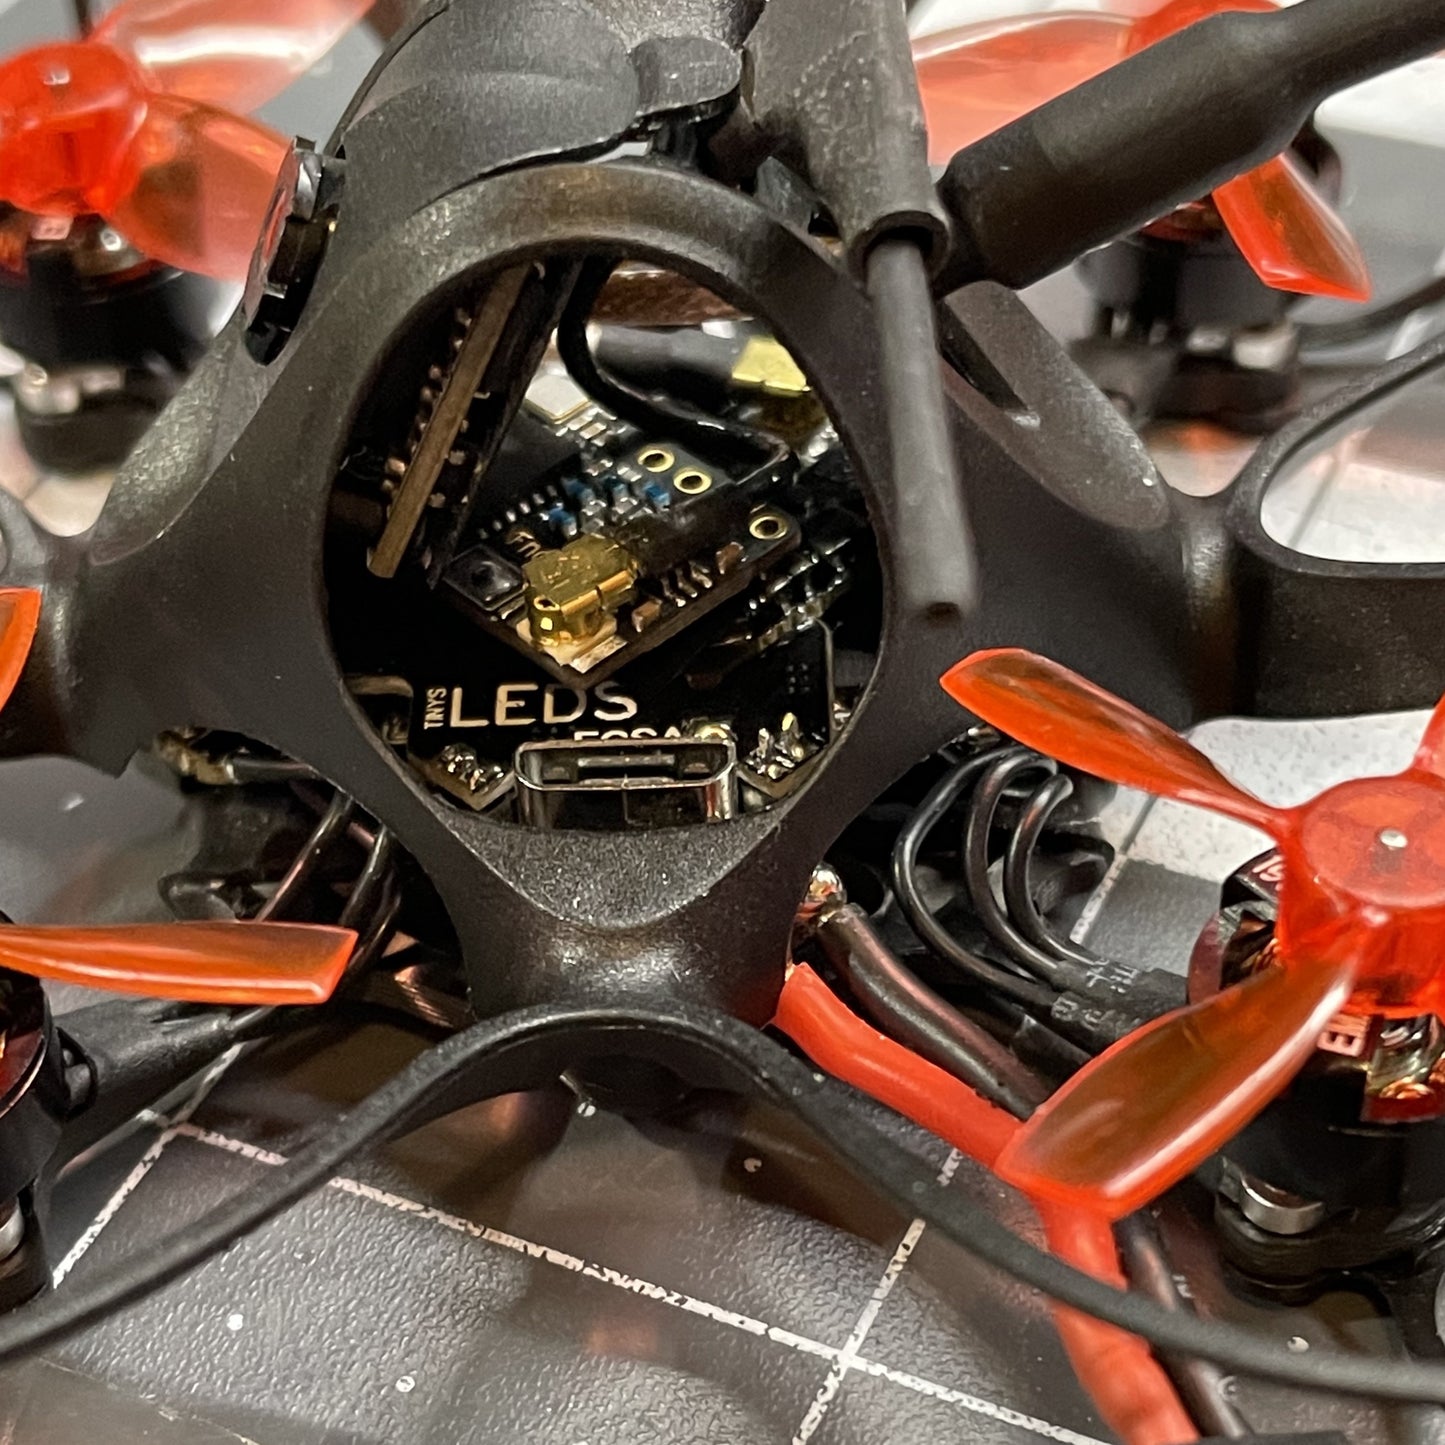
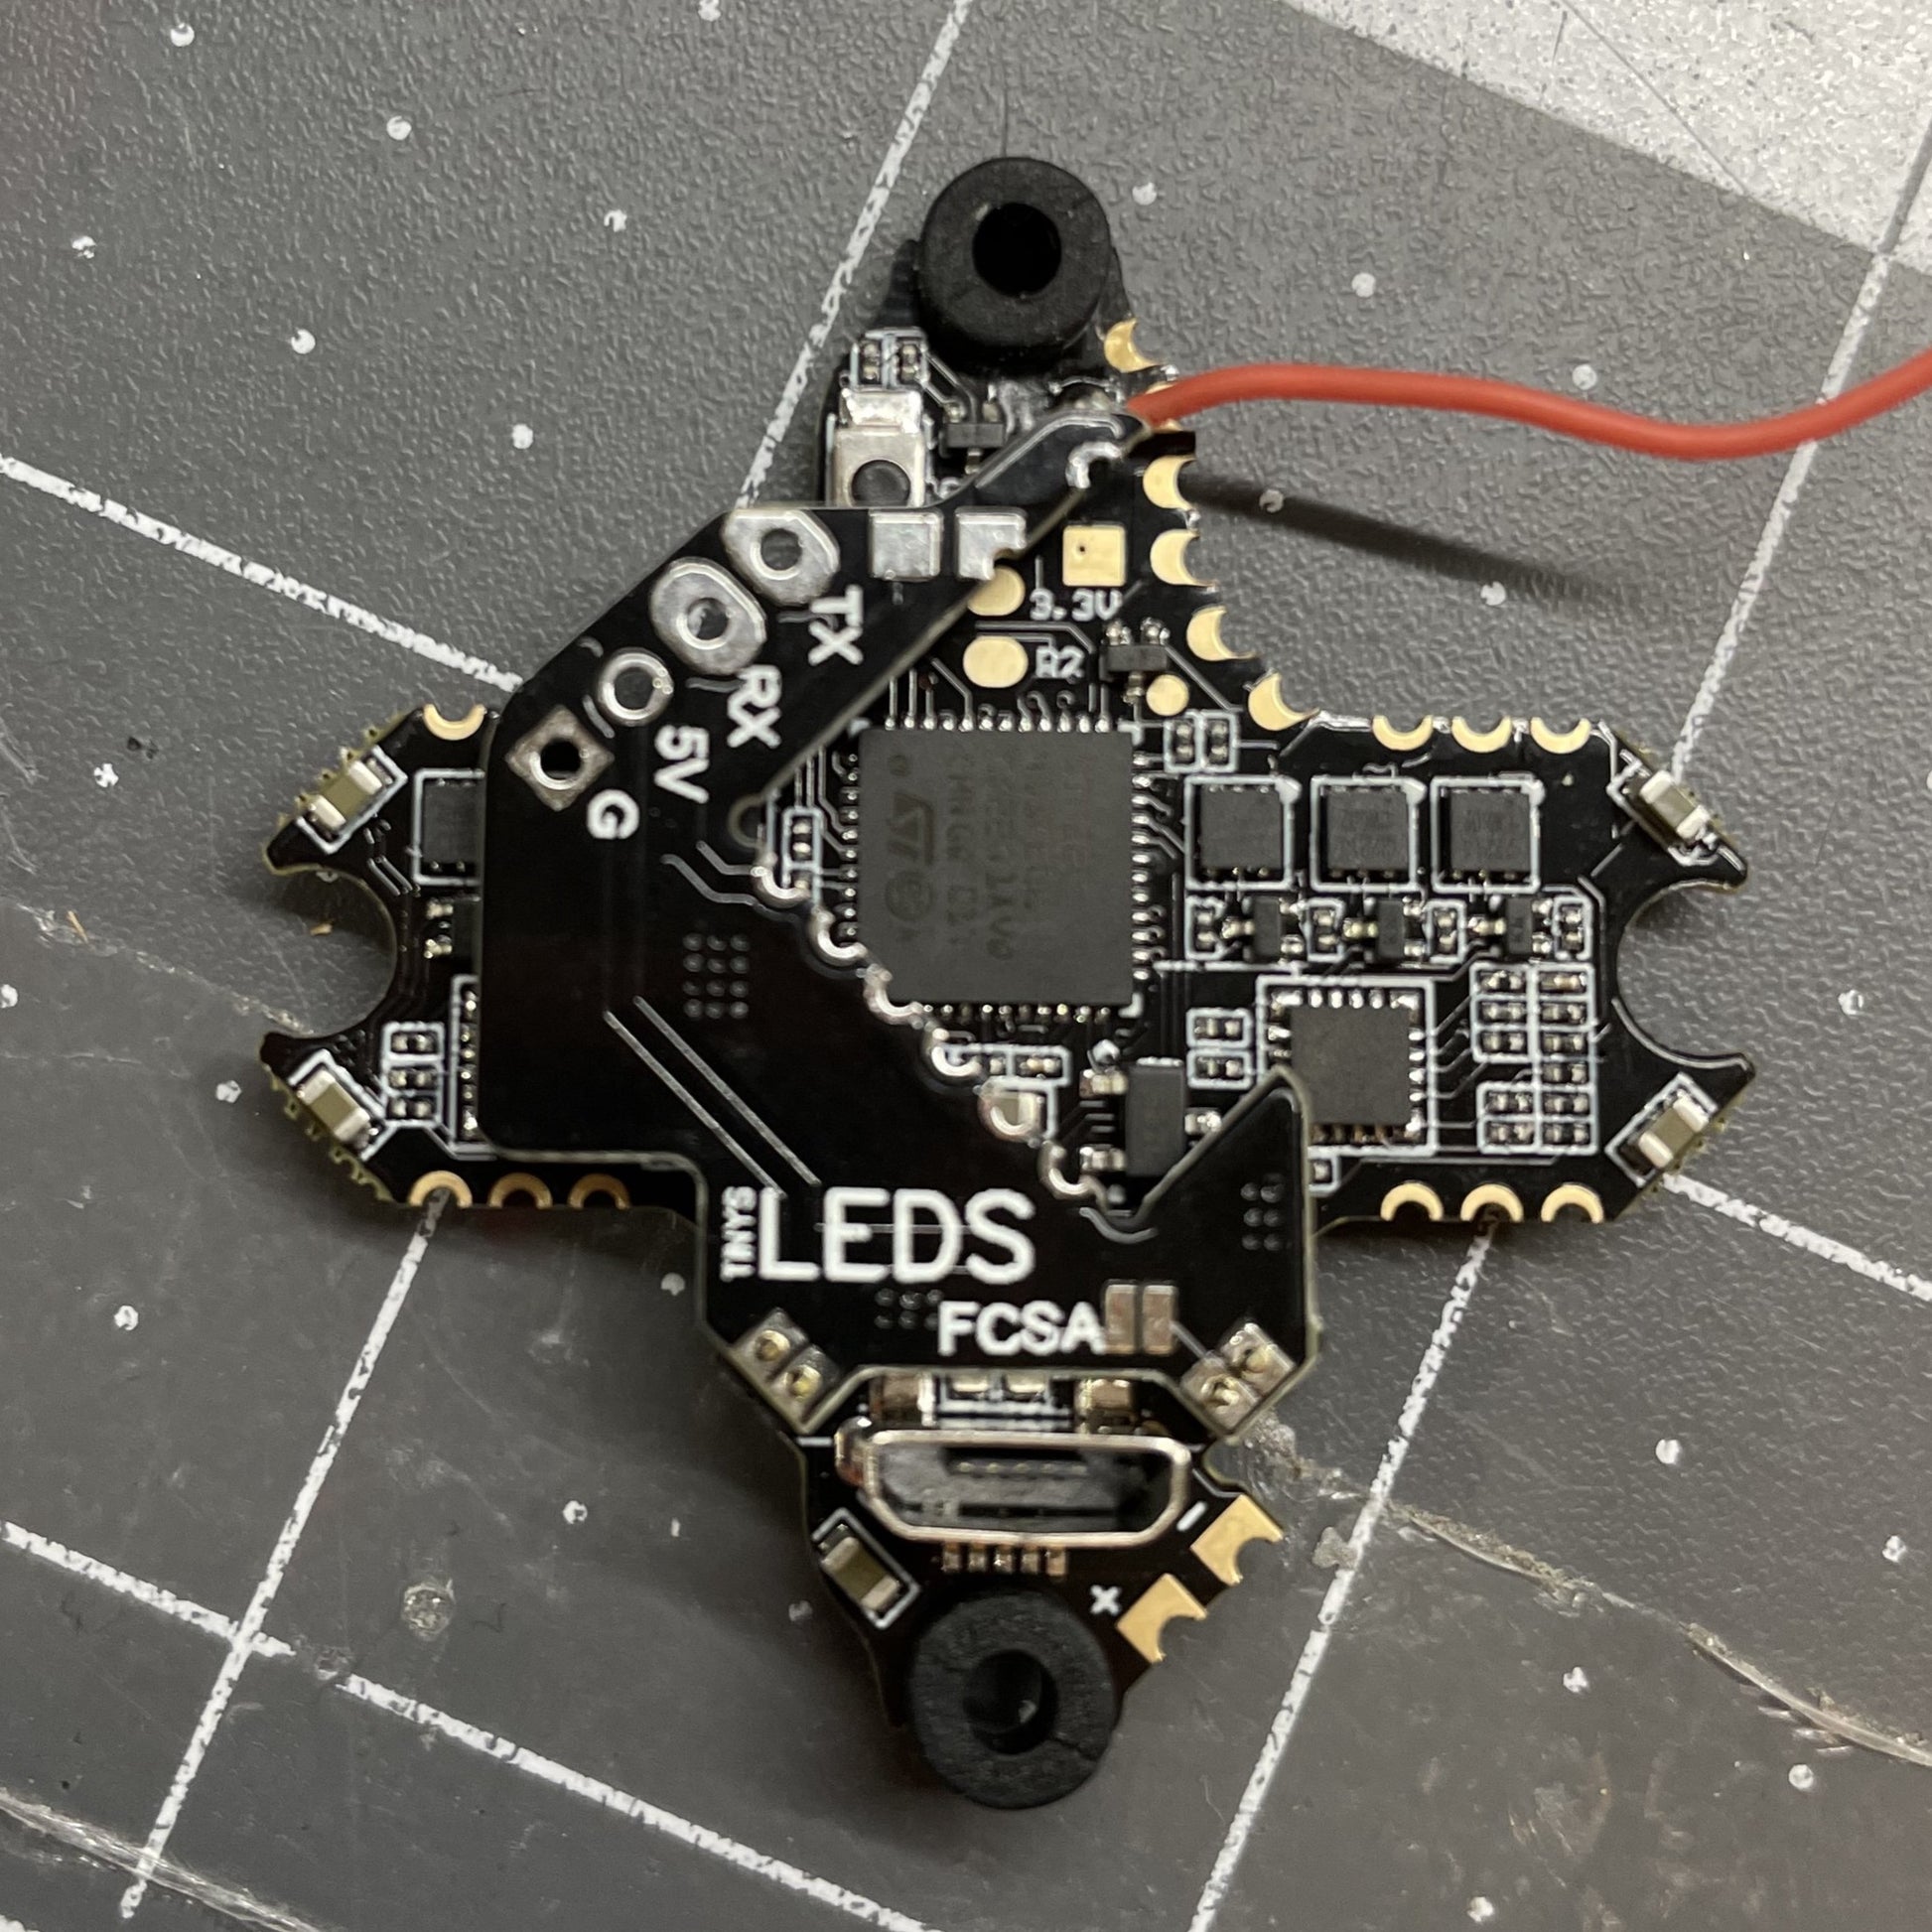
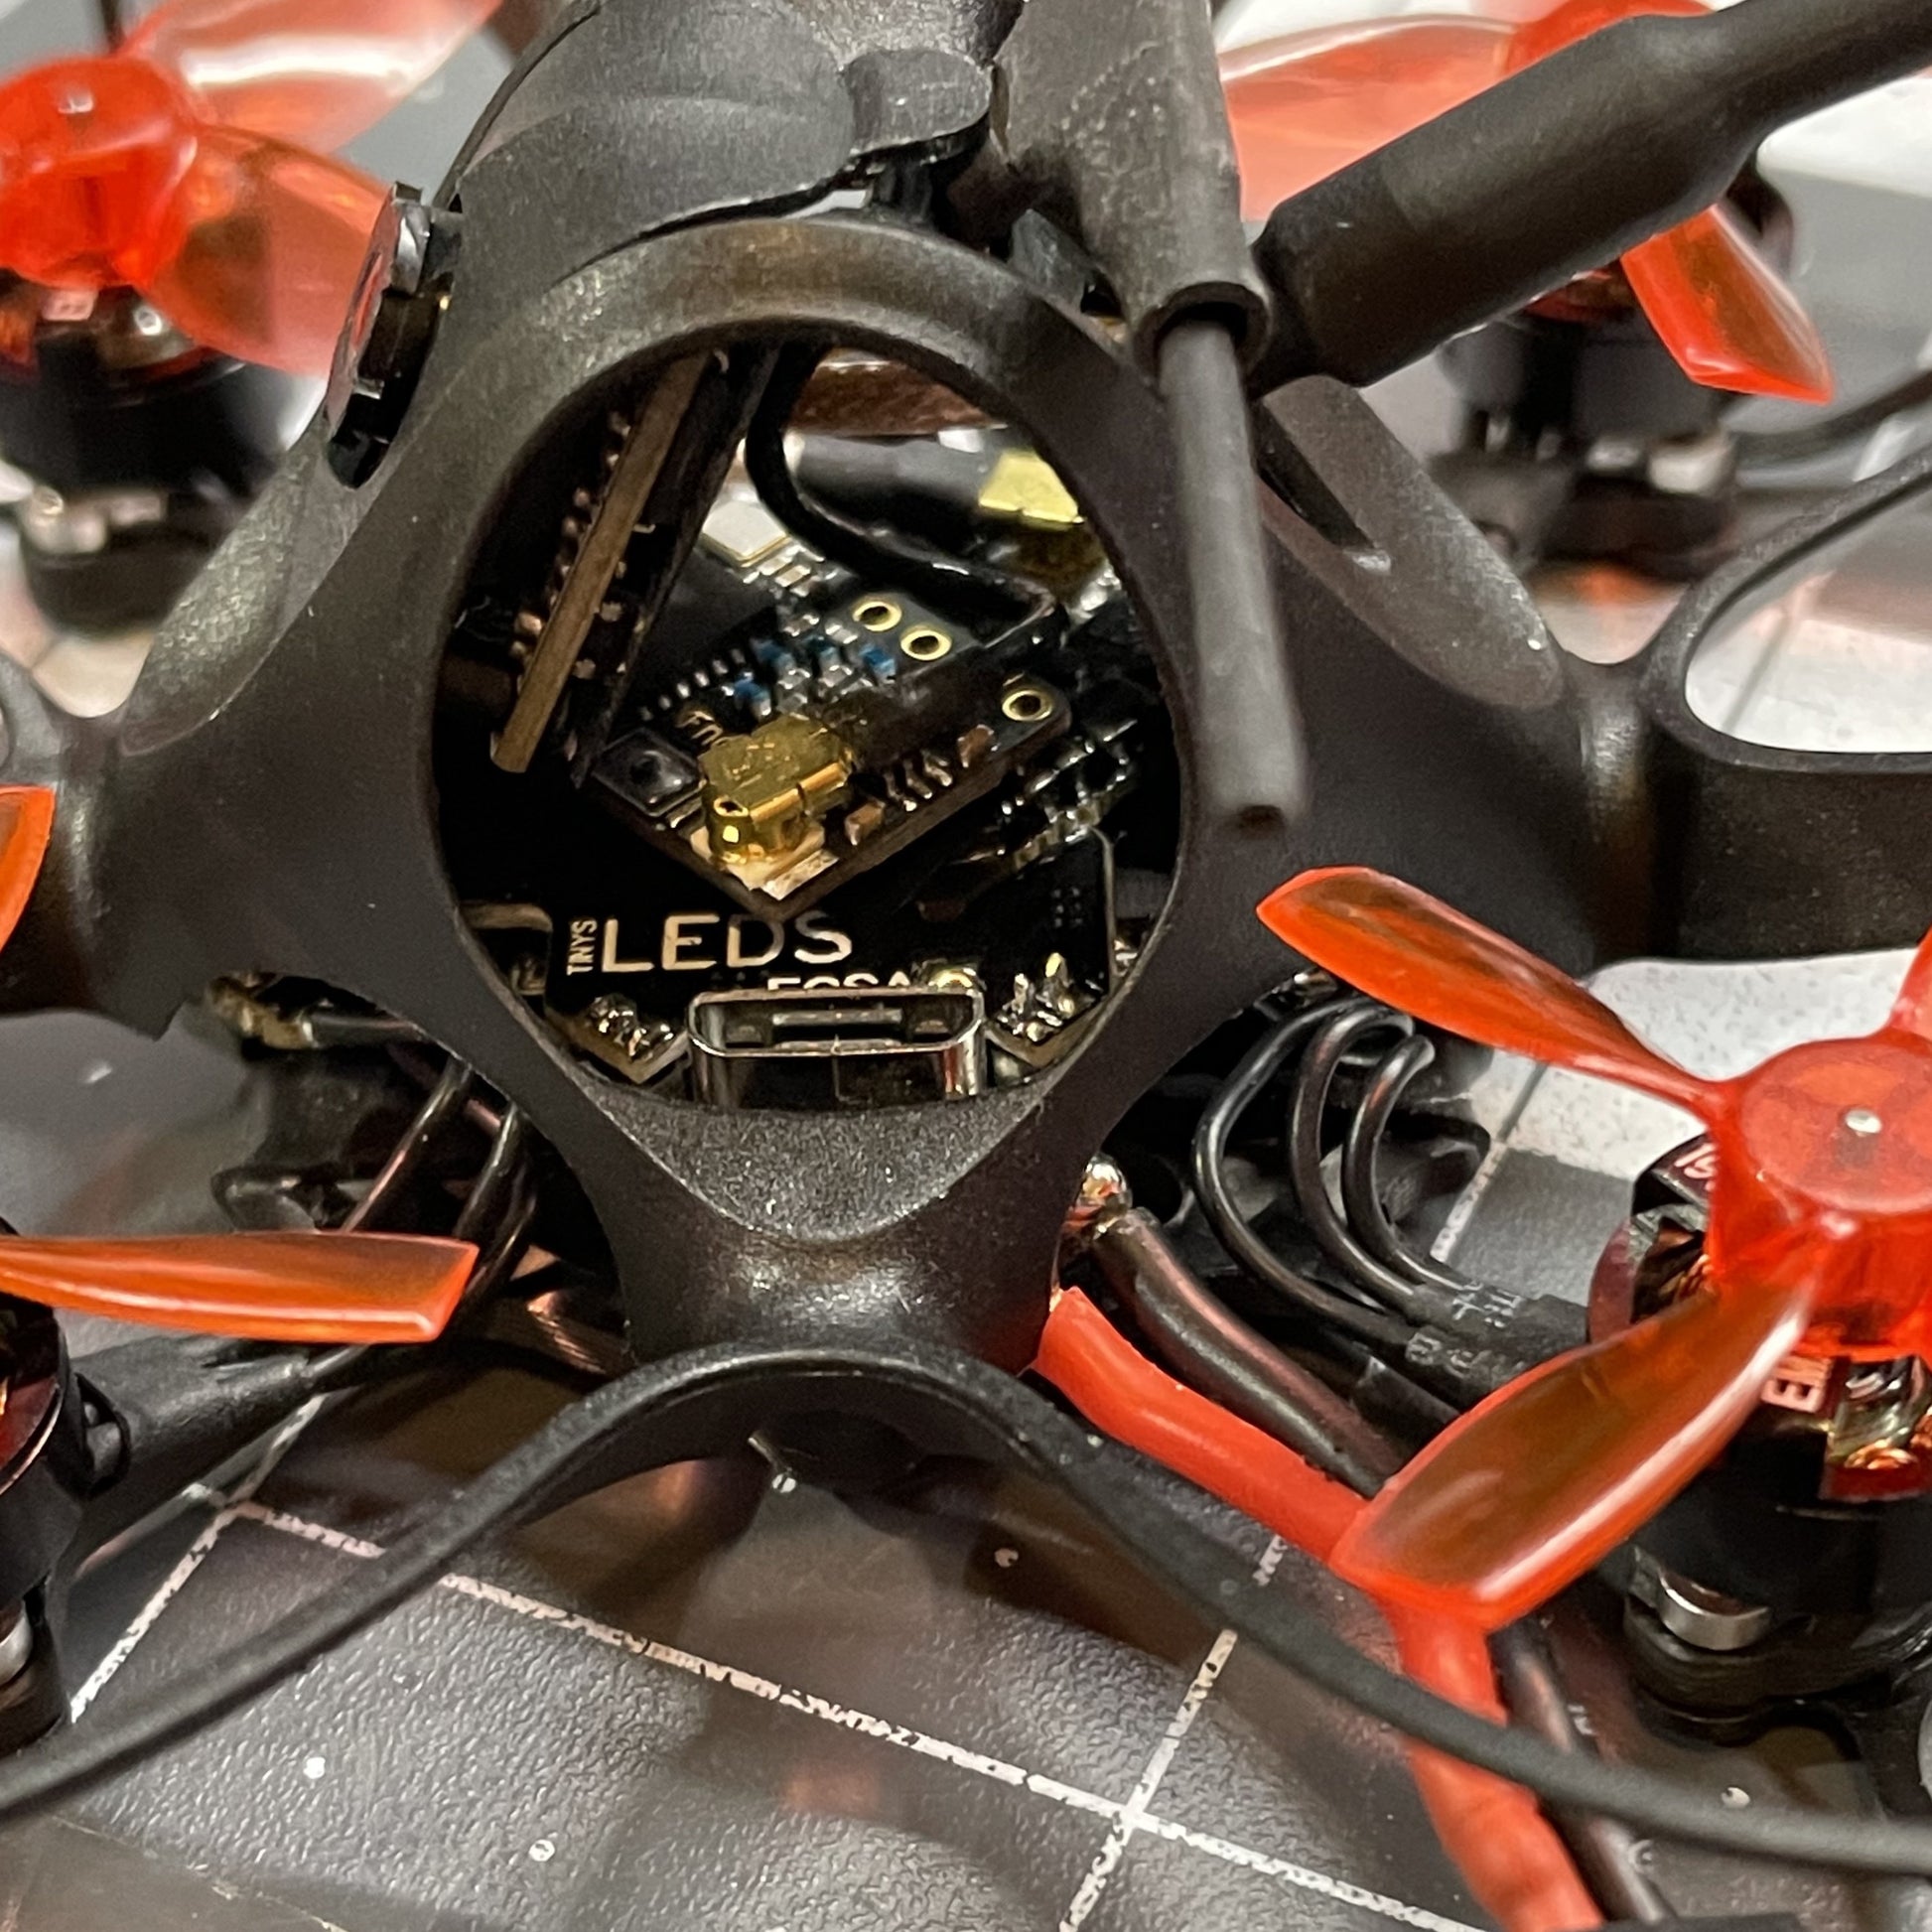
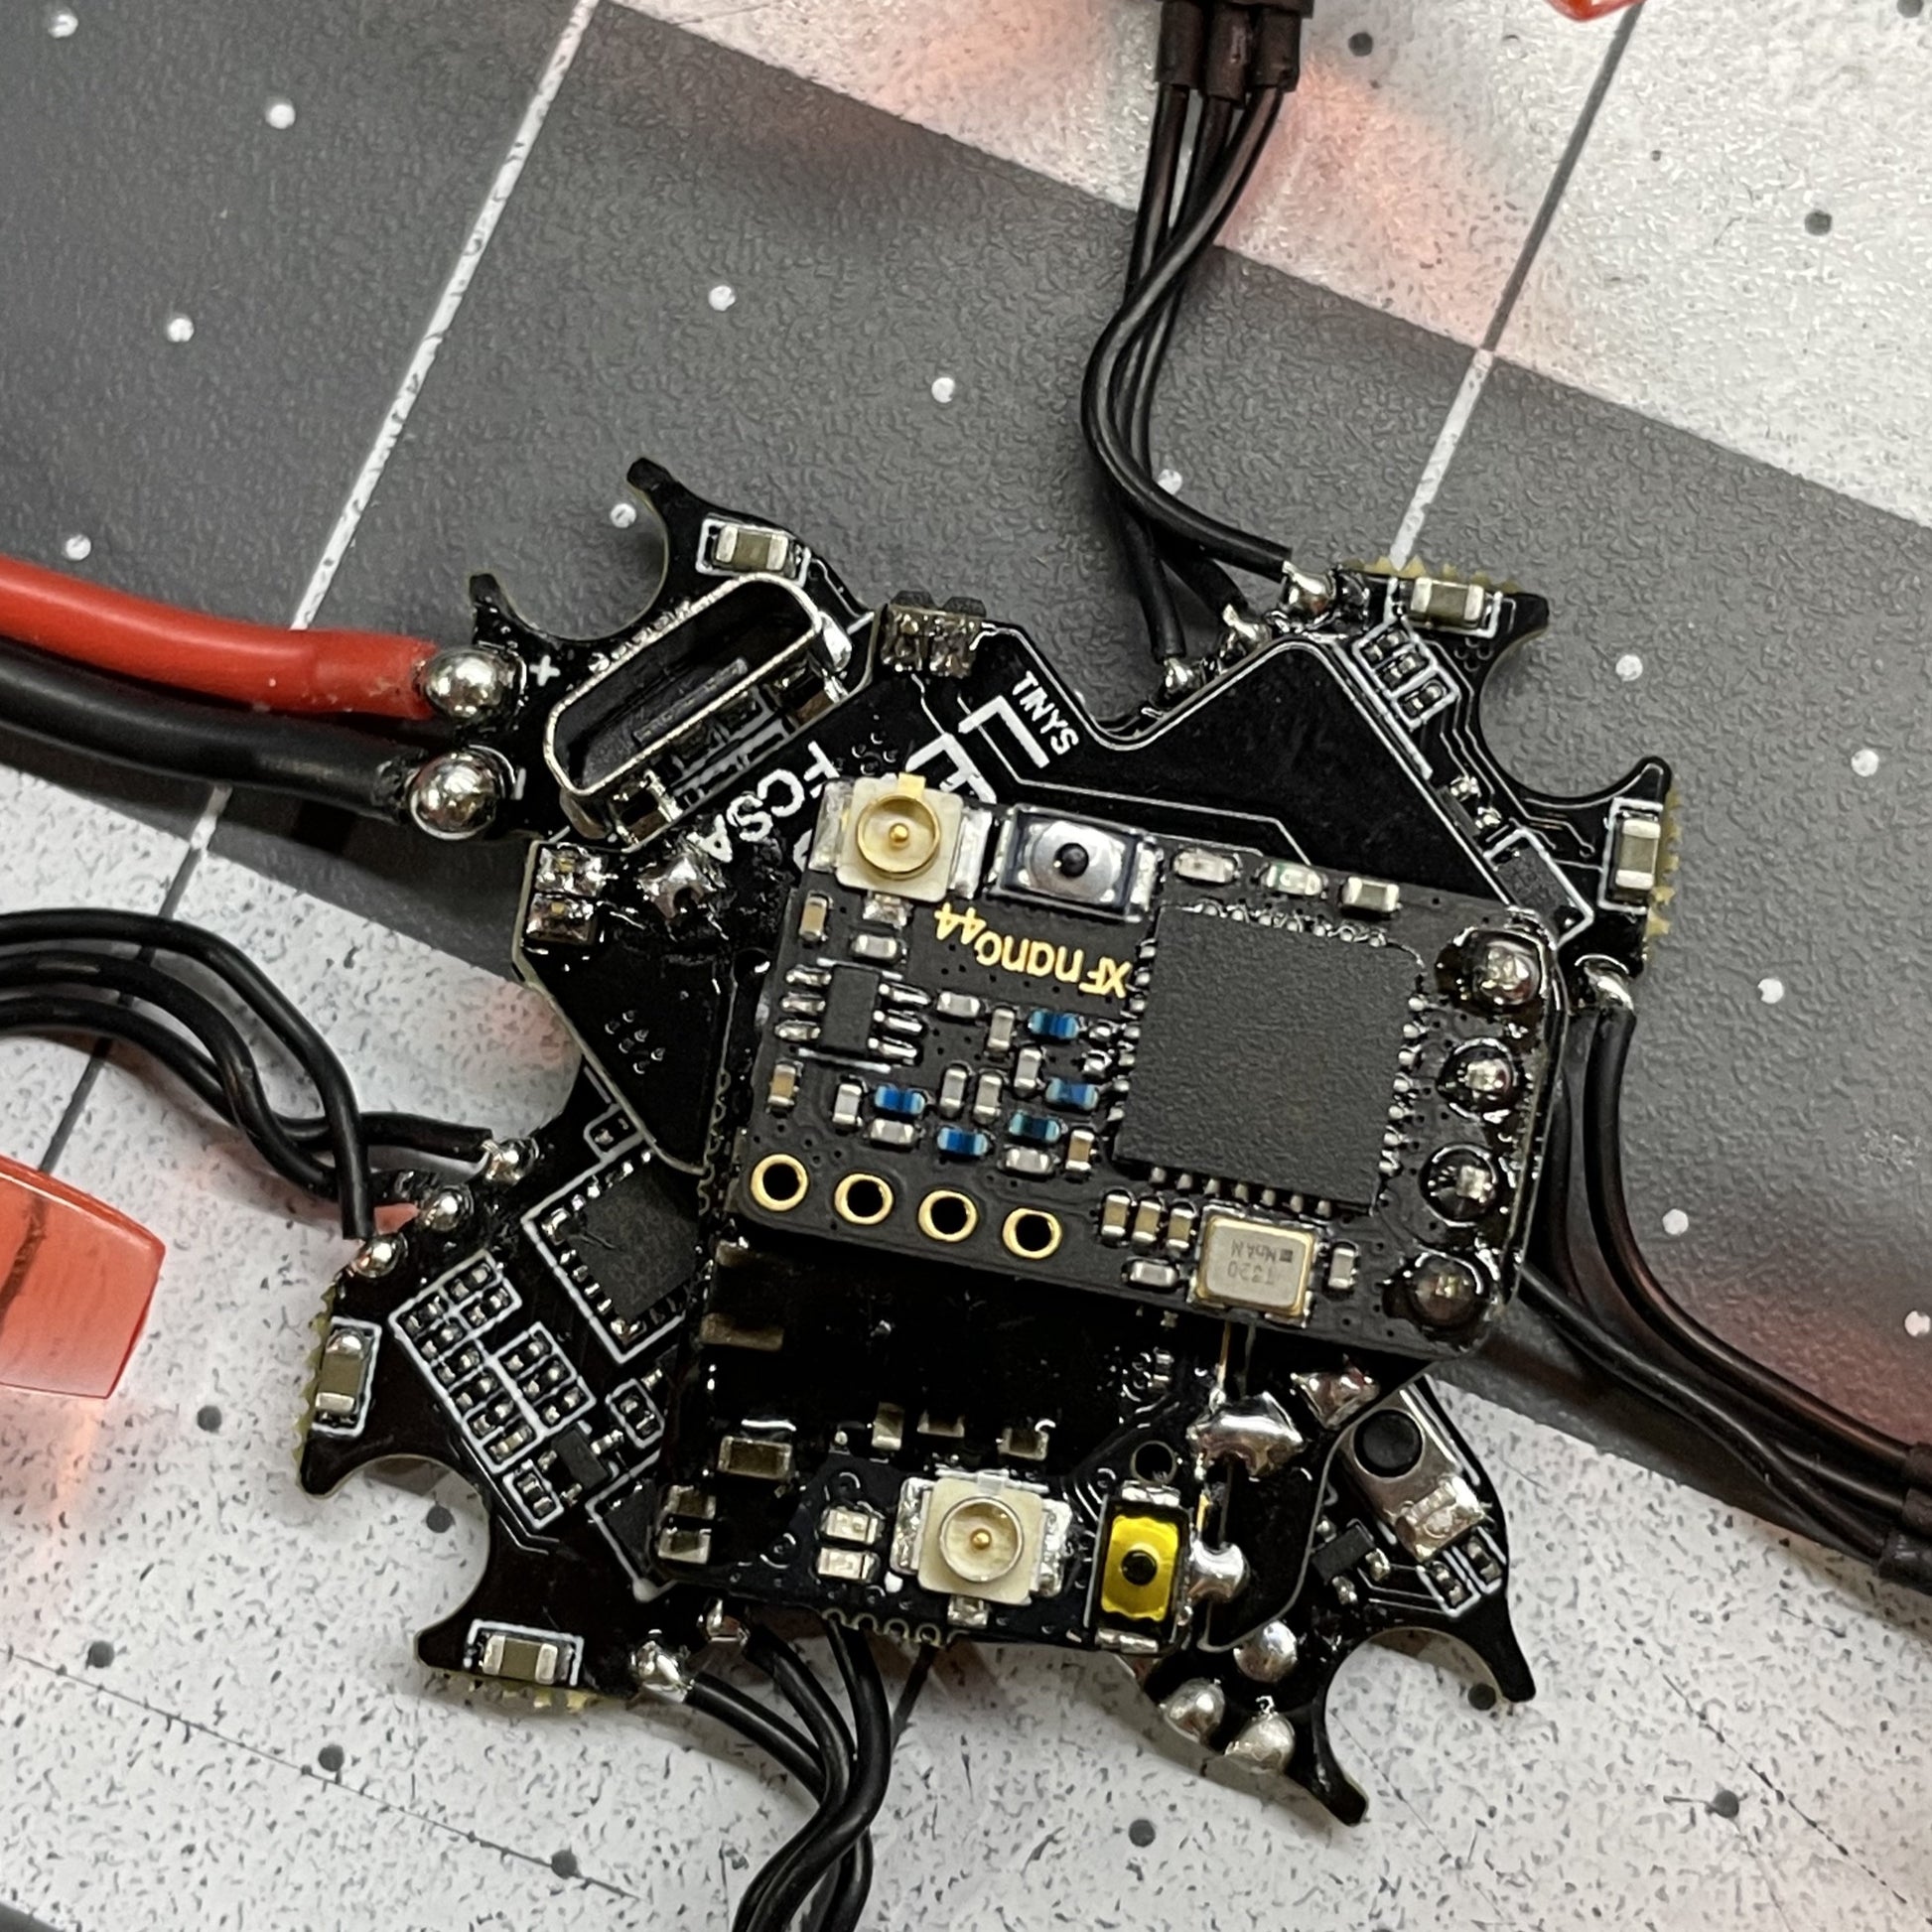
Tiny's LEDs EMAX Nano Hawk Mounting board.
For TBS Pro32 Nano and non 32 nano pro VTX.
Will work with TBS Tracer or Crossfire Nano, FrSky XM+, XM, M+, ImmersionRC Zepto and Atto RXs.
Installation instructions
(There is an assumption that you know how things connect together without mounting board. The mounting board just makes wiring more clean) IF you do not know how your equipment connects together consult the manual FIRST. This will prevent issues. Tiny's LEDs and EMAX assumes no responsibility for damaging NanoHawk during installation.
Step 1.
Disassemble the NanoHawk. Remove motors and 4 AIO mounting screws..
Step 2.
Clip pins under the VTX Flush with bottom of VTX. you will use these 4 pins to mount the new board. Remove the top set of plastic spacers from pins. there should be only 1 spacer on pins when done. This is the correct height.
I desoldered Camera wires for building of install guide. You do no have to desolder them.

Step 3.
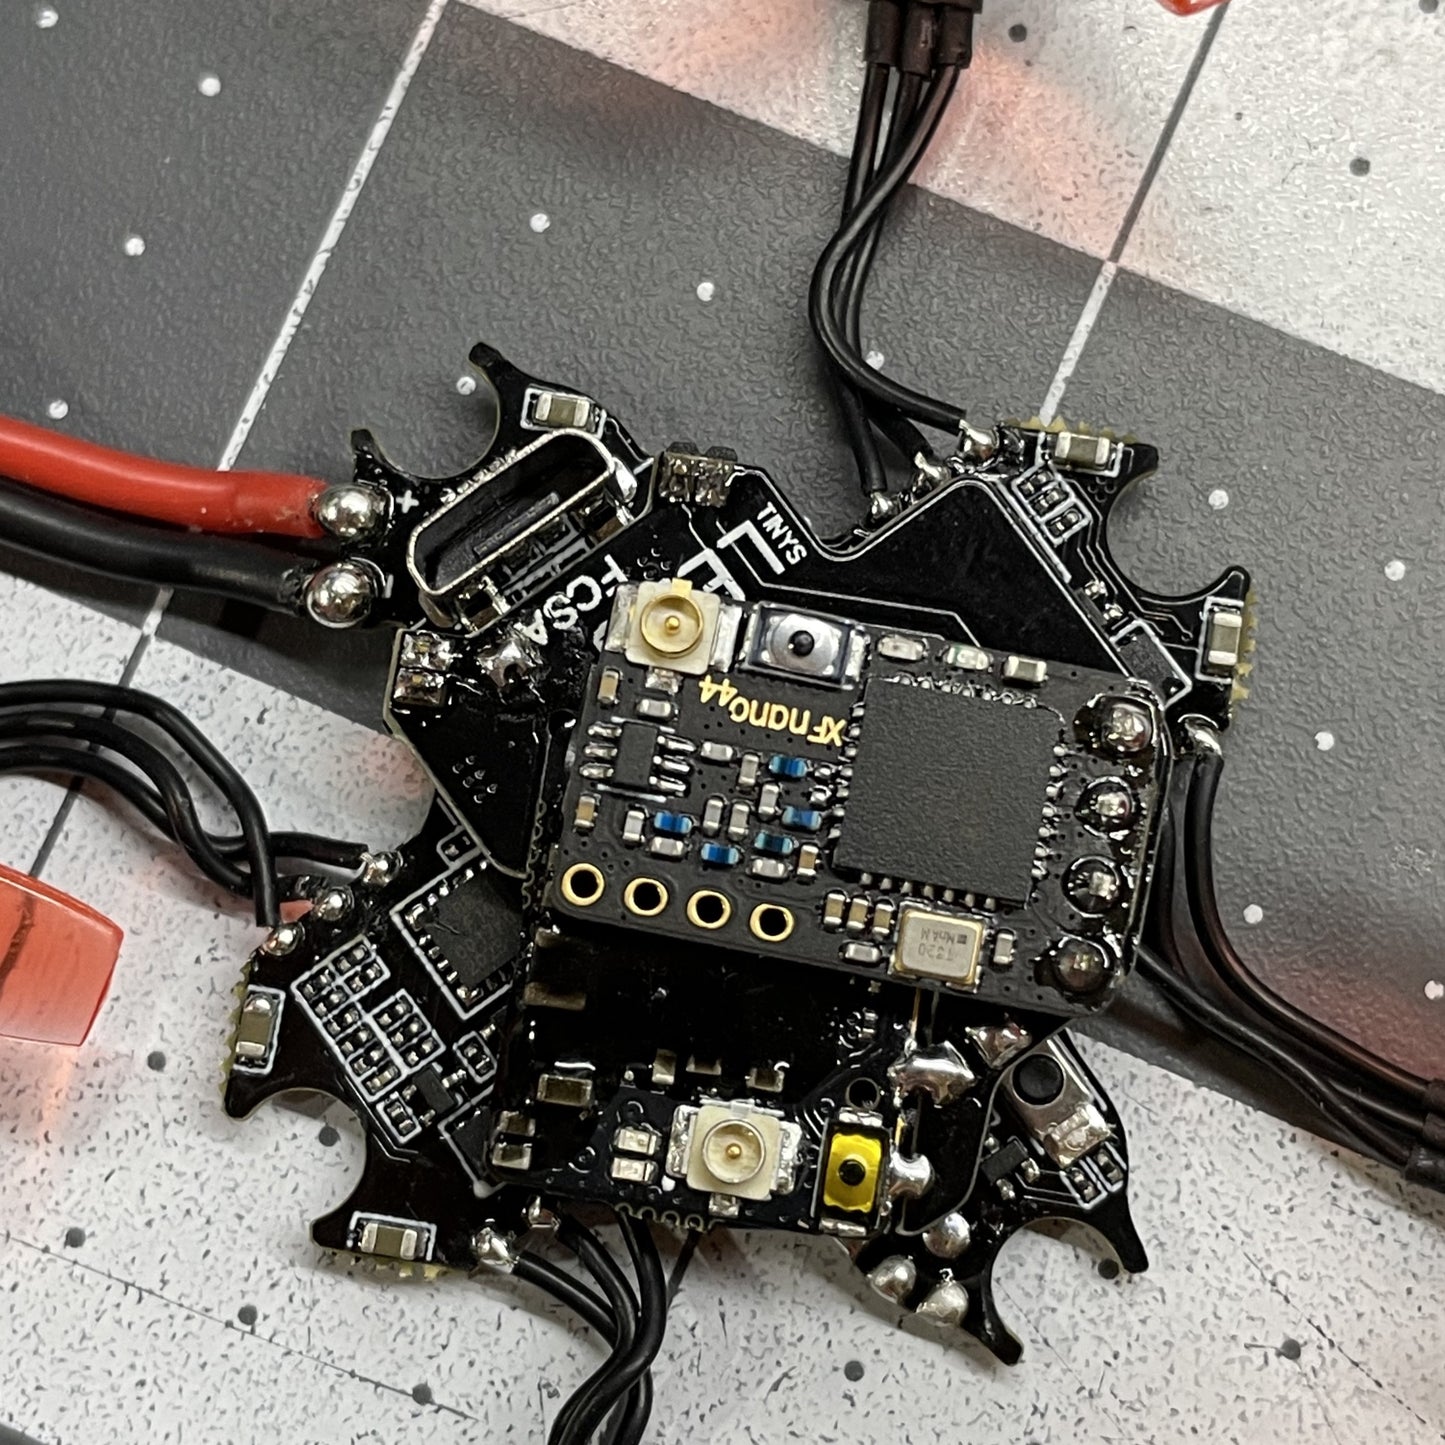
Solder VTX to Mounting board. Solder RX pins, then remove plastic space on pins. Place small piece of Electrical tape on VTX pads for insulation. Resulting will look like photo below.


Step 4.
Pick your receiver and Solder to pins. For the example I will use a Crossfire Nano RX.
Connect Solder Bridge FC SA to use betaflight SmartAudio Control to vtx.

Step 5.
I place E-tape on bottom to cover VTX. You may or may not feel it's needed.

Step 6.
Place mounting board on AIO pins and solder.
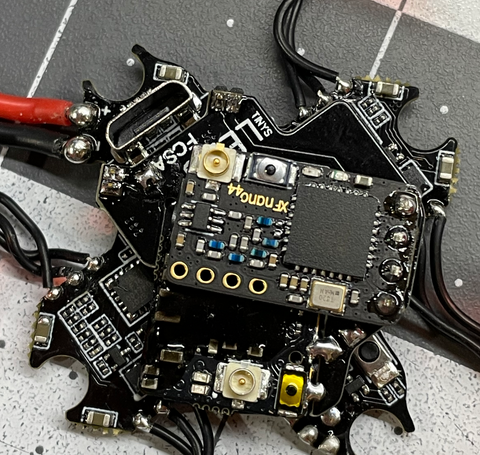
Step 7.
Turn over and solder TX/RX pins to Mounting board. The pads you use are the pin header holes. This was to save space of board..

Step 8.
Complete by Soldering Wires to AIO for RX and TX.
Note: If using another RX besides TBS Tracer or Crossfire Nano use RX manual to make sure your PINs are correctly wired before reassembly.

Step 9.
Reassemble AIO into frame and configure Betaflight.
Use this for quick Crossfire/Tracer Install in CLI Comments.
